A bathroom without an exhaust fan can be one of the worst places on the planet. Suppose you think the exhaust fan in your bathroom is making funny noises or not doing its work correctly. In this case, we suggest you call in an electrician for electrical services and repair However, if you wish to install a bathroom exhaust fan yourself, here’s what you need to do.
1. Removal of Old Fan
If you decide to get electrical service from a professional electrician, they too will start the process by removing the old fan. To go through the electrical repair, make sure that the power is turned off. Once that is done, you can then remove the motor from its housing. Next, you will have to remove the housing as well.
This can be different for different manufacturers. Get an electrician from Quick Spark to do it for you if need be. Lastly, once the housing is removed, you can disconnect the power as well.
2. Drilling and Marking
Once you have the old fan removed, you can then move on to the electrical service process. Take a pencil and make a mark where you wish to install the fan. Next, take a drill, make a reference hole and mark the ceiling as well. If this seems too much work, you can always call an electrician by Quick Spark to do the electrical service or electrical repair for you.
3. Fan Positioning
Moving on, this is where the electrical service process begins. Take a jigsaw and start cutting through the layout you made earlier. When you have taken out the square piece, you can start by fitting the new fan into the hole. The bracket that came with the fan will be fixed inside the hole you just made. Make sure that you use duct tape – since the other ones wear out pretty quickly.
4. Attaching the Fan
Once you have successfully fixed the bracket, it’s time to extend it as much as you can until it comes in contact with the sides. Use a drywall screw and secure each bracket. Take the new cable and attach it through the connector. Once done, you can then tighten the setting of the connector so that it is secured into the wall.
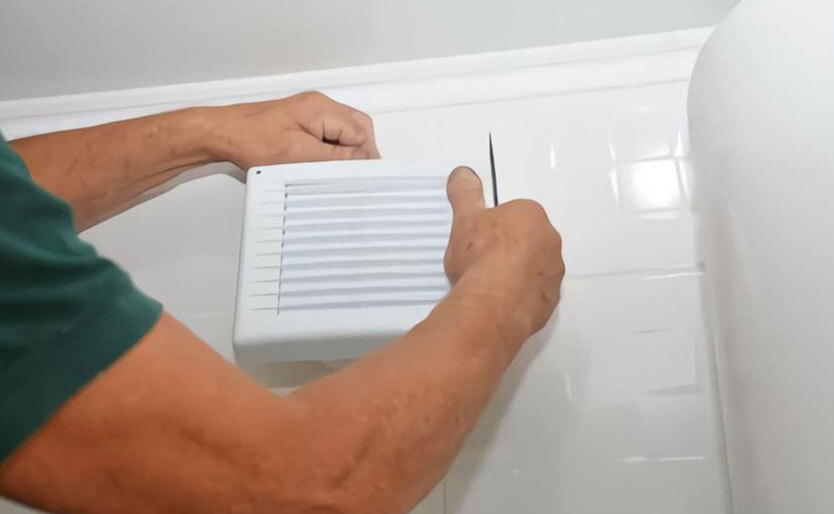
5. Duct Attachments
Finally, you will attach the duct to the wall. Cut a hole to the outer side where the fan will go. Next, attach the exhaust duct and stretch it near the outside wall. Here is where the electrical repair process comes to an end. Install the cap, make the connections and finish it off by putting on the grille.
This can be quite a lengthy process, and a lot can go wrong if you mess up a step. Are you looking for an easier way out? Call Quick Spark, and an expert electrician will be there to do the electrical repair, replacement, or installation work in no time.